Wednesday, August 31, 2011

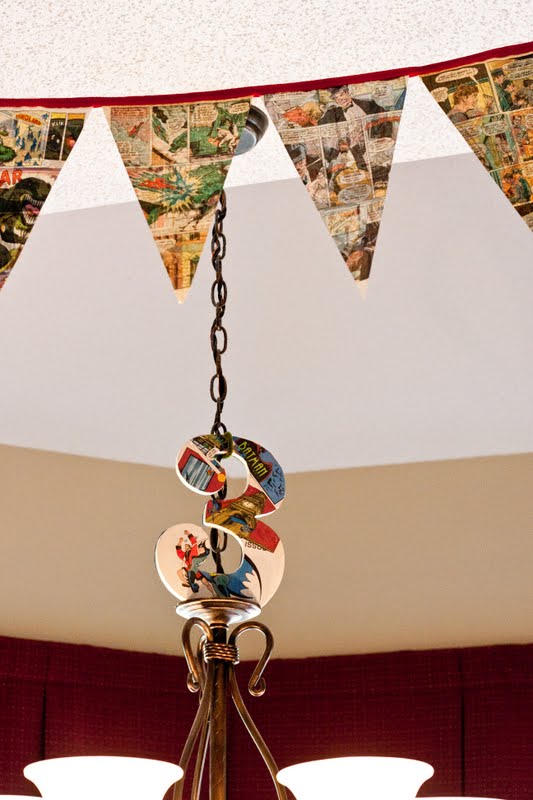
Alright then! As promised, here are some of the final details of the Super Hero party and then I will move on! I actually have a GIRL project to show you all later this week! Say what?? 

Anyway... after we sugared the kids up with cupcakes and ring pops I had another game planned to help run off some of the excess energy. We sent them on a Kryptonite hunt! I had bought a couple of bags of rocks at the Dollar Tree and a can of florescent green spray paint. I sprayed all of the rocks and had my brother in law scatter them around the yard for the kiddos to find. We had them use tongs so they wouldn't touch it. It is poison for Super Heros you know!!


I guess he is immune to Kryptonite! 

Here it is glowing away in the bucket we had the kids collecting it in.


I had a couple of places set up for photo ops for the kids. I wish that I had been more organized about making sure everyone got over there as I forgot to get a couple of kids "posing" in Super Hero mode. I had the batmobile set up. I made the signs with card stock a sharpie and craft sticks.

This one makes me laugh every time I see it! His face is priceless!

My little batman


I hung a simple polka-dot fabric purchased at Hobby Lobby as a back drop for some more sign poses. 


We have the Melissa and Doug cardboard blocks (which are awesome)! And we set them up for the heros to knock down walls!


You may have noticed throughout the posts that each child was wearing a cape. To make them I bought tank tops from Wal-Mart, cut them in have and made two capes from each tank top. I used a variety of ribbon I had on hand to cover the raw edges. On half of them I used a freezer stencil of the lightning bolt with fabric paint and the other half I used felt cut into the shape and fabric glue. If you all have more questions, ask a way, I took a few pictures of that process. I just don't want to Super Hero you all out!

A close up of my favorite girly cape. Pink, embellished with rick-rack.


Tuesday, August 30, 2011

Super hero games

 When I started planning this party I knew that we could have quite a few kids there and I wanted to make sure we had plenty to keep them busy and try to run off all the sugar they would be consuming! :) I had seen online a few different ideas for a "Super Hero Training Obstacle Course" and I knew it would be super easy to create and the kids would love it! I was right. I only had to purchase a couple of things to fill the course out, the rest was either easy to print off or I already had on hand.


We started the course with our Little Tykes slide. Admittedly it most of the kids had outgrown this model, but they still seemed to enjoy it.


From the slide, they moved on to the "balance beam" which was just a two by four we had in the garage. 


Most of the courses I saw online had hula hoops for the kids to run through, but I wasn't able to find any.  I did, however, find swimming noodles on clearance for just over a dollar. I bought two, cut them in half and created "hurdles". Again not terribly challenging for some of the kids, but we had some really young ones and I wanted to make sure they could all participate.


Here is the birthday boy with his Grandma helping him through the course.

Then I set up a few cones for them to run through

From there they went into the tunnel. We had received two of these as gifts at some point so I tied them both together to make an extra long tunnel!


The final part was to take out the villains!:) I had printed pictures of a few of the well known villains and tacked them to our trees. The kids got to use Silly String to "web" the bad guys.


Overall, it was a big hit. The kiddos ended up running through it over and over again before they got tired of it!

Tomorrow I'll have just a couple more activities from the party to share and then I will shut up about the party already! (Promise)


Monday, August 29, 2011

Super Hero Party!!!

This weekend my little destructor turned three! Everything in our house right now is all about super heros! My boys love them all! With their ages now (41/2 and 3) I thought it would be a great year to do a big party for my younger son. Our older son's birthday is in December and it is very difficult to do parties at that time of year for obvious reasons!:) But with their ages now the party was just as much if not more fun for the older one and the younger is too little to be selfish about his big day! :) 

Anyway, we did a Super Hero theme and I tried to make it as fun and imaginative for the kids as possible. I will share some of the party decor today and will share some of the games and other activities throughout the week.

A sign printed off of Pinterest hung on the front door.

We have a chalkboard door next to the kitchen and I added a simple cityscape with Superman's catch phrase.


Comic book bunting made with old comics found a vintage stock and ribbon went above the gift table.

A 3 decoupaged with more pages from the comic books.


Also taken from Pinterest balloons hung from the ceiling so I didn't have to use helium! Big cost saver!

I printed off some fun pictures of my little guy and framed them with inexpensive frames throughout.  I also framed the front pages of the comic books to add to the decor.  This trio was on the gift table.

My mom helped me wrap old boxes with plain black wrapping paper from Target and we made windows out of cut up cardstock. I had kept mine simple, but Mom took it up a notch and added the framing and an awning with Spiderman vinyl decals. 

We filled in areas with some of our Super hero toys to look like a little scene!

More toys, pictures and comic book covers.


I found the cutest cookie cutters at William Sonoma that cut the  Hulk, Spiderman, Iron Man and Captain America. I got the idea to color the dough so we wouldn't have to do a lot of decorating. My genius mom had the idea to mix the red and yellow dough together to make Iron Man!

This is a simple metal tray that I usually keep my coffee supplies on. I  ran some red ribbon through it and covered the bottom with yet more comic book pages and had a piece of glass cut o fit on top at Hobby Lobby. 

I designed the cupcake toppers using Word and yet again my mom came to the rescue by cutting them all out! We stacked them with circles cut from card stack and craft sticks to top the cupcakes. They say Zap Boom and Pow!


A bowl filled with ring pops and pop rocks surrounded by little Batman board books.  We also used some extra cupcake toppers to add some "zap". :)


I'll be back tomorrow with some fun game ideas!

Linking up to:

Thursday, August 18, 2011

Superhero pillows

I have been in Superhero mode almost nonstop as I am planning little Destructor's 3rd birthday. I have a few projects to show you as I go along. You already saw the batmobile. Today I have a "Super" simple superhero pillow to show you. A few weeks ago while browsing through Hobby Lobby I stumbled across their aisle of handkerchiefs. They had a Spider-man and Iron Man each for $1.99 I think. And I thought, I can do something with those. So... when I got home I realized I had some plain red fabric that I had purchased a while back for a different project. I used it as the backing and stitched up some simple square pillows and stuffed them up!


And we have to happy little boys hugging their pillows!!

Monday, August 8, 2011

chair update

Remember this chair? Well, while she was functional, she was a little bland for me. I have had some free time as my boys have been on vacation with their grandparents for a week. My main focus has been cleaning out my basement, but I've tried to squeeze in some other little projects here and there as well.

So I saw this interesting chair on Anthropologie's website and I loved the colorful piping and the stripes.


So I made some double welting tape with some fabric I had leftover from pillows.  I had a tutorial on how to make it, but..... that method failed. So I came up with my own way and it worked out better for me. I made enough to cover all the edges of my chair and hot glued it in place. 


Then I mixed a couple of colors of green craft paint with a little water and taped off to paint a couple of stripes going down the middle of the chair. 


I LOVE  the final result. 


One more before and after shot
Before
After


I'm so happy that I took the risk to give the chair a little more pep. It went from blah to Blam!!! Yeah, I said Blam!!! 

Linking up to