

I have three of these dvd cases sitting on the bookshelves in my living room. I bought them a few years ago at Target. I really don't like for STUFF to take up more room than necessary. And that includes things like the plastic dvd containers when you buy a movie. We purchase more movies than we probably should. Especially now that we have kids! The most full of these cases is the one which houses their movies. The second most full is mine... filled with amazing culture rich entertainment like all seasons of Alias and Veronica Mars! Come on! We all love a good female lead with extra sass and tail-kicking capabilities!!

I digress! I love these because rather then keeping all of those pesky dvd boxes I can store 100 dvds in these cases with those little envelopes. I know this storage system isn't for everyone. In fact some days when little kiddos go "digging" to find a movie I have a love/hate relationship with it myself. But overall, the pros outweigh the cons for me. What would probably take up at least two shelves of our built-ins with the cases, only takes up half of one this way. But I had bought them to blend in with a dark stained TV cabinet... not my freshly painted white and green shelves.
The faux leather look started to bug me enough to make a change so I grabbed a scrap of Osnaburg and "reupholstered" them if you will. All I needed was the fabric and some hot glue. Callouses probably would have been helpful too as that hot glue can give you some wicked burns!


I simply removed all of the sides from the case. And actually, if you didn't already have some of the cases I think they would be fairly simple to DIY. With some old cereal boxes or other cardboard and some duct tape, you would have the base. Then just use a little more cardboard covered with something pretty and you would be in business!
But I did have the cases.... so after I removed the outside I cut my fabric down to size, laid my case piece right side down on it and glued down the edges.

When you have all of the sides done, just glue them back onto the case.

Here is a side by side before and after.

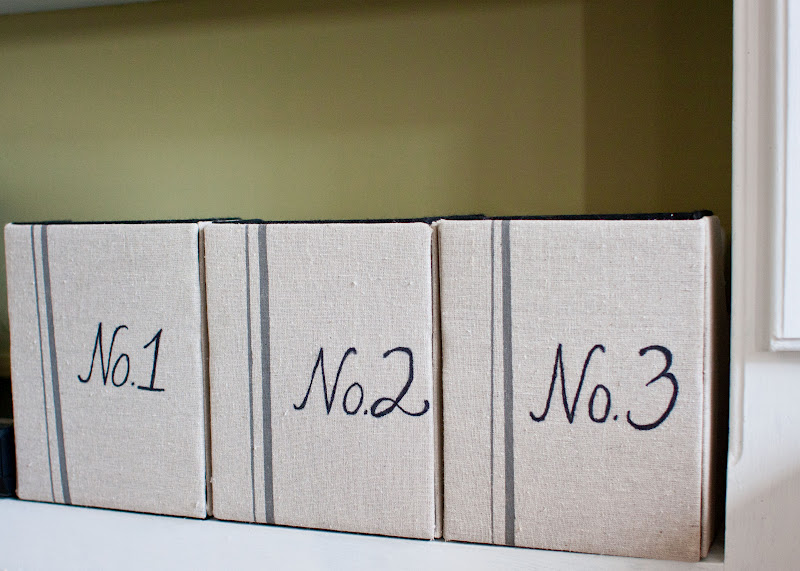
I already thought they looked a lot better, but they were still a little boring! Sooooo, I got out my trusty acrylic paint and sharpie and added a little french grain sack look to them.
Here they are back at home on my shelves. I love that they fit there perfectly!
Just found your blog from The Mobile Homemaker. Your kitchen is amazing, as well as your countertop transformation (wow)!
ReplyDeleteThis project looks fantastic, too!